
Activate MFA Security
Helpful tip: We’ve detected you are on a smartphone. You can continue reading, but some instructions will require you to follow a few steps on your smartphone. We recommend you open this page on a computer.
A. Install the MFA app
The first step in getting multifactor authentication (MFA) activated is to download the MFA smartphone app. The app CorVantage uses is called Microsoft Authenticator. We’ve put together an easy-to-follow instructions guide below to help you download and install the app on your smartphone. To start, click the orange button below that matches your smartphone.
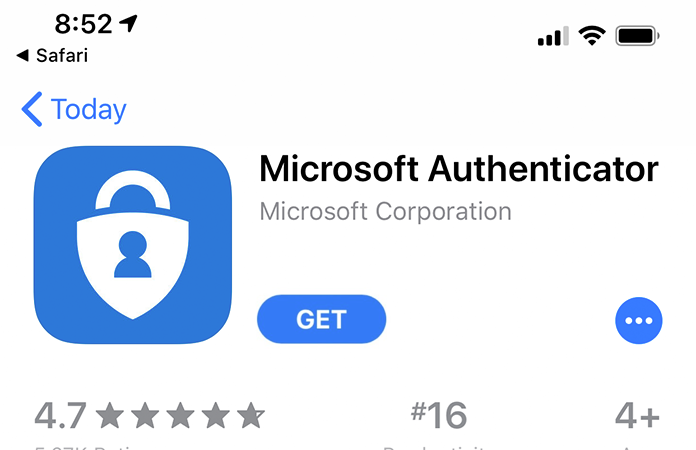
MFA App Install for iPhones
Be sure to complete “Section A” above, which will provide you with the download link mentioned in Step 1 below.
STEP 1
Scan the QR code above using your iPhone.
Alt: If you’re viewing this on your iPhone, click here.
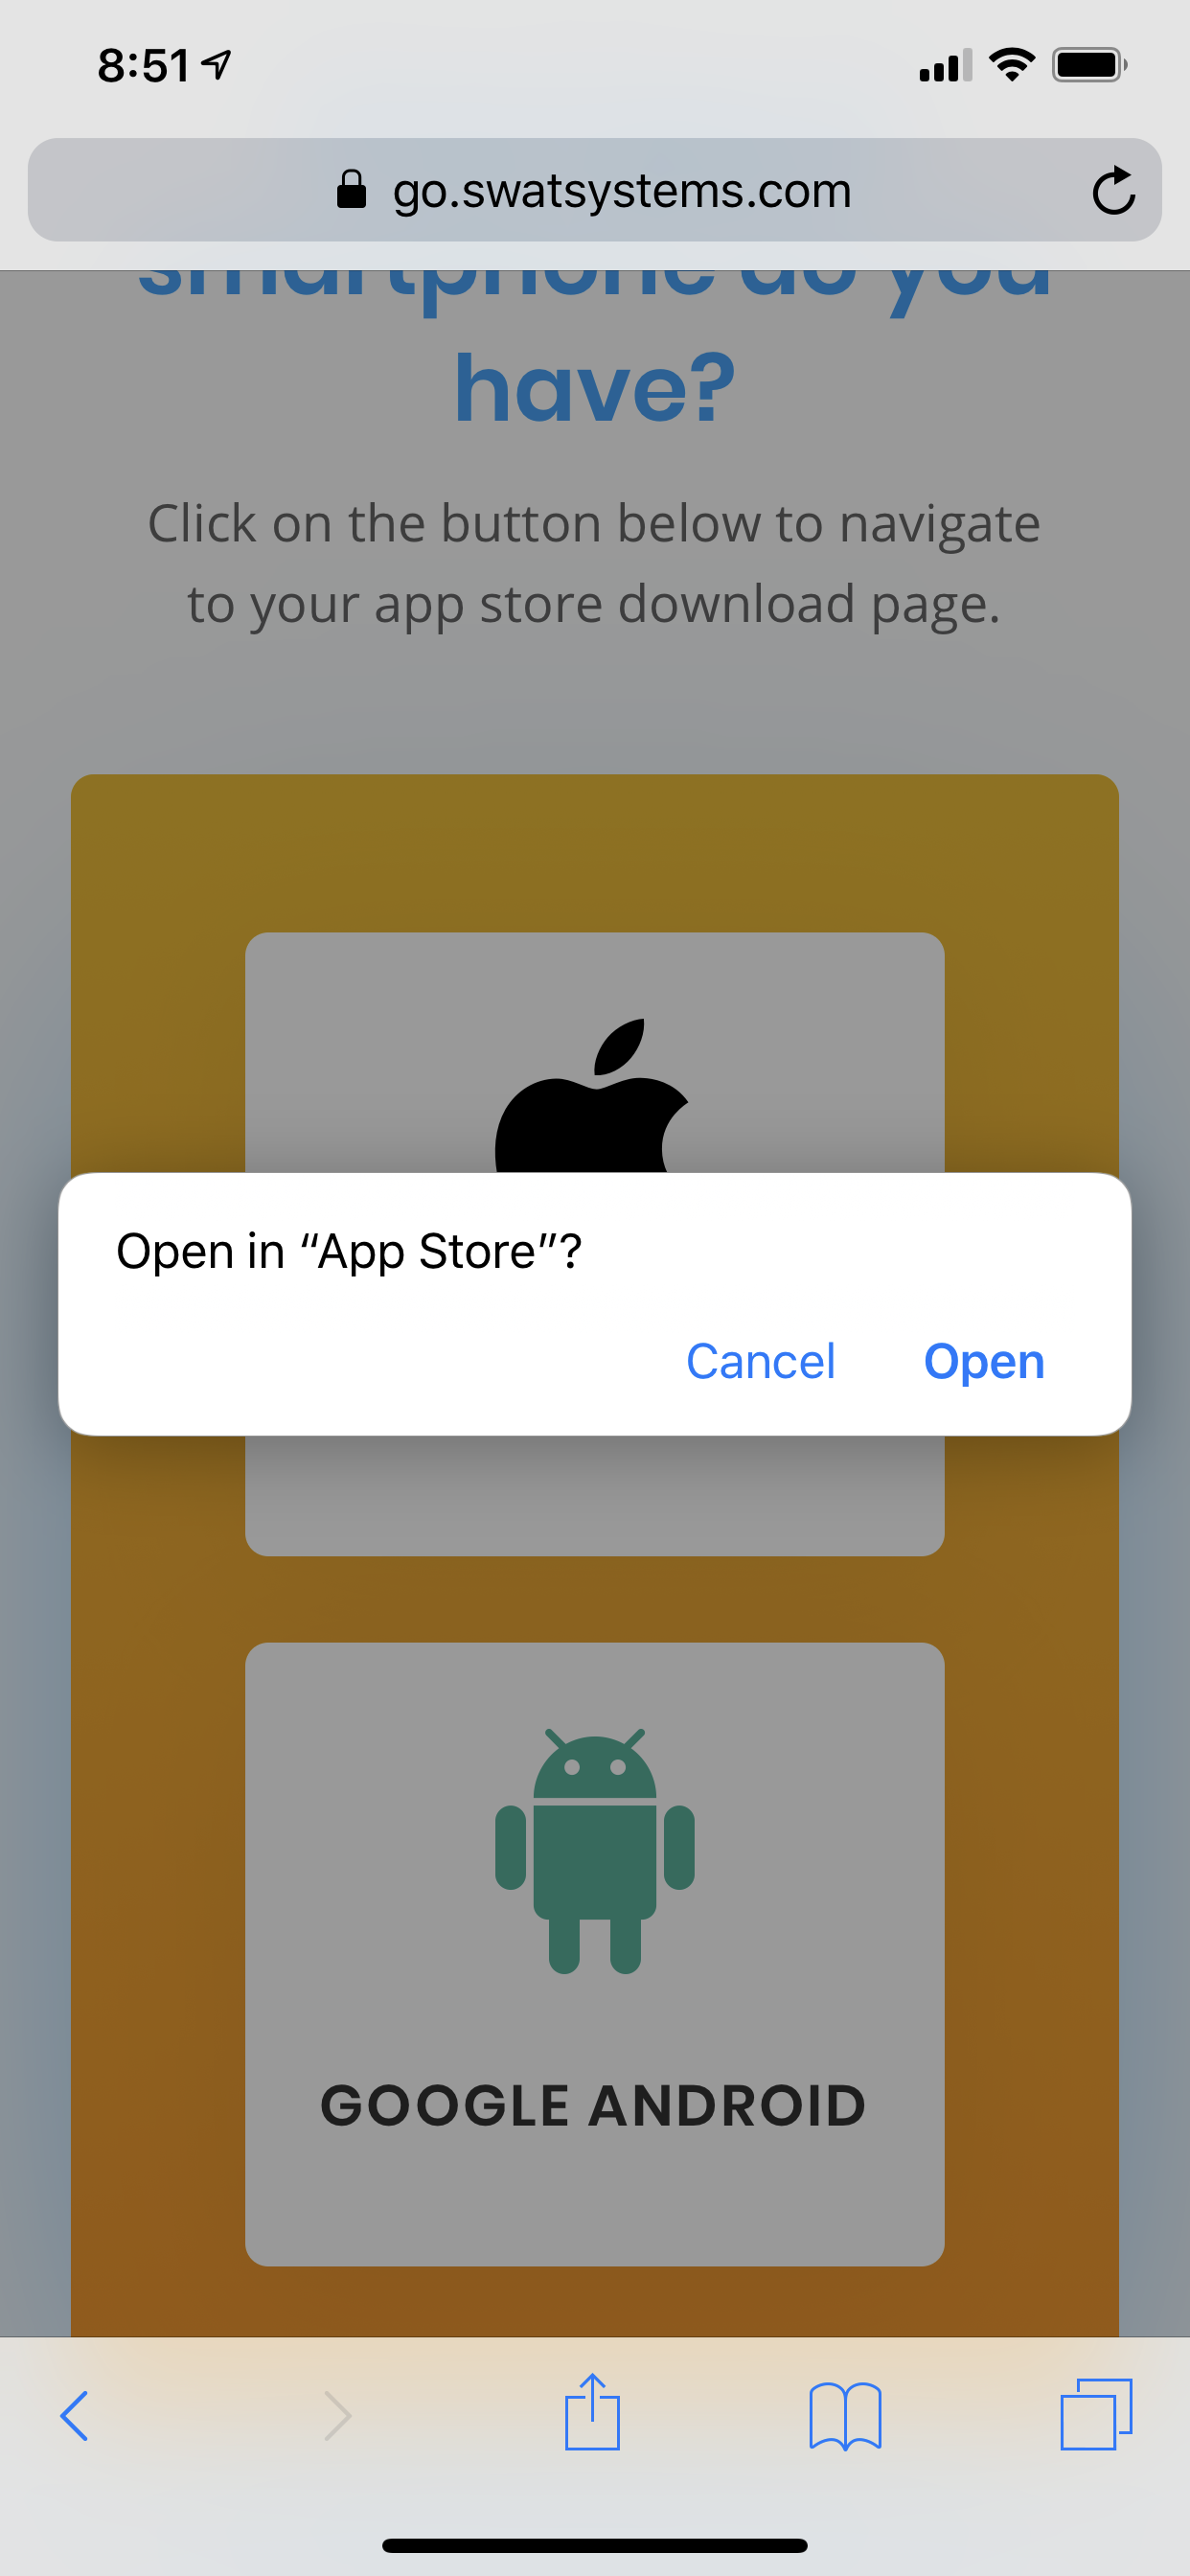
STEP 2
If you are asked, tap Open on the pop-up window asking to open in App Store.
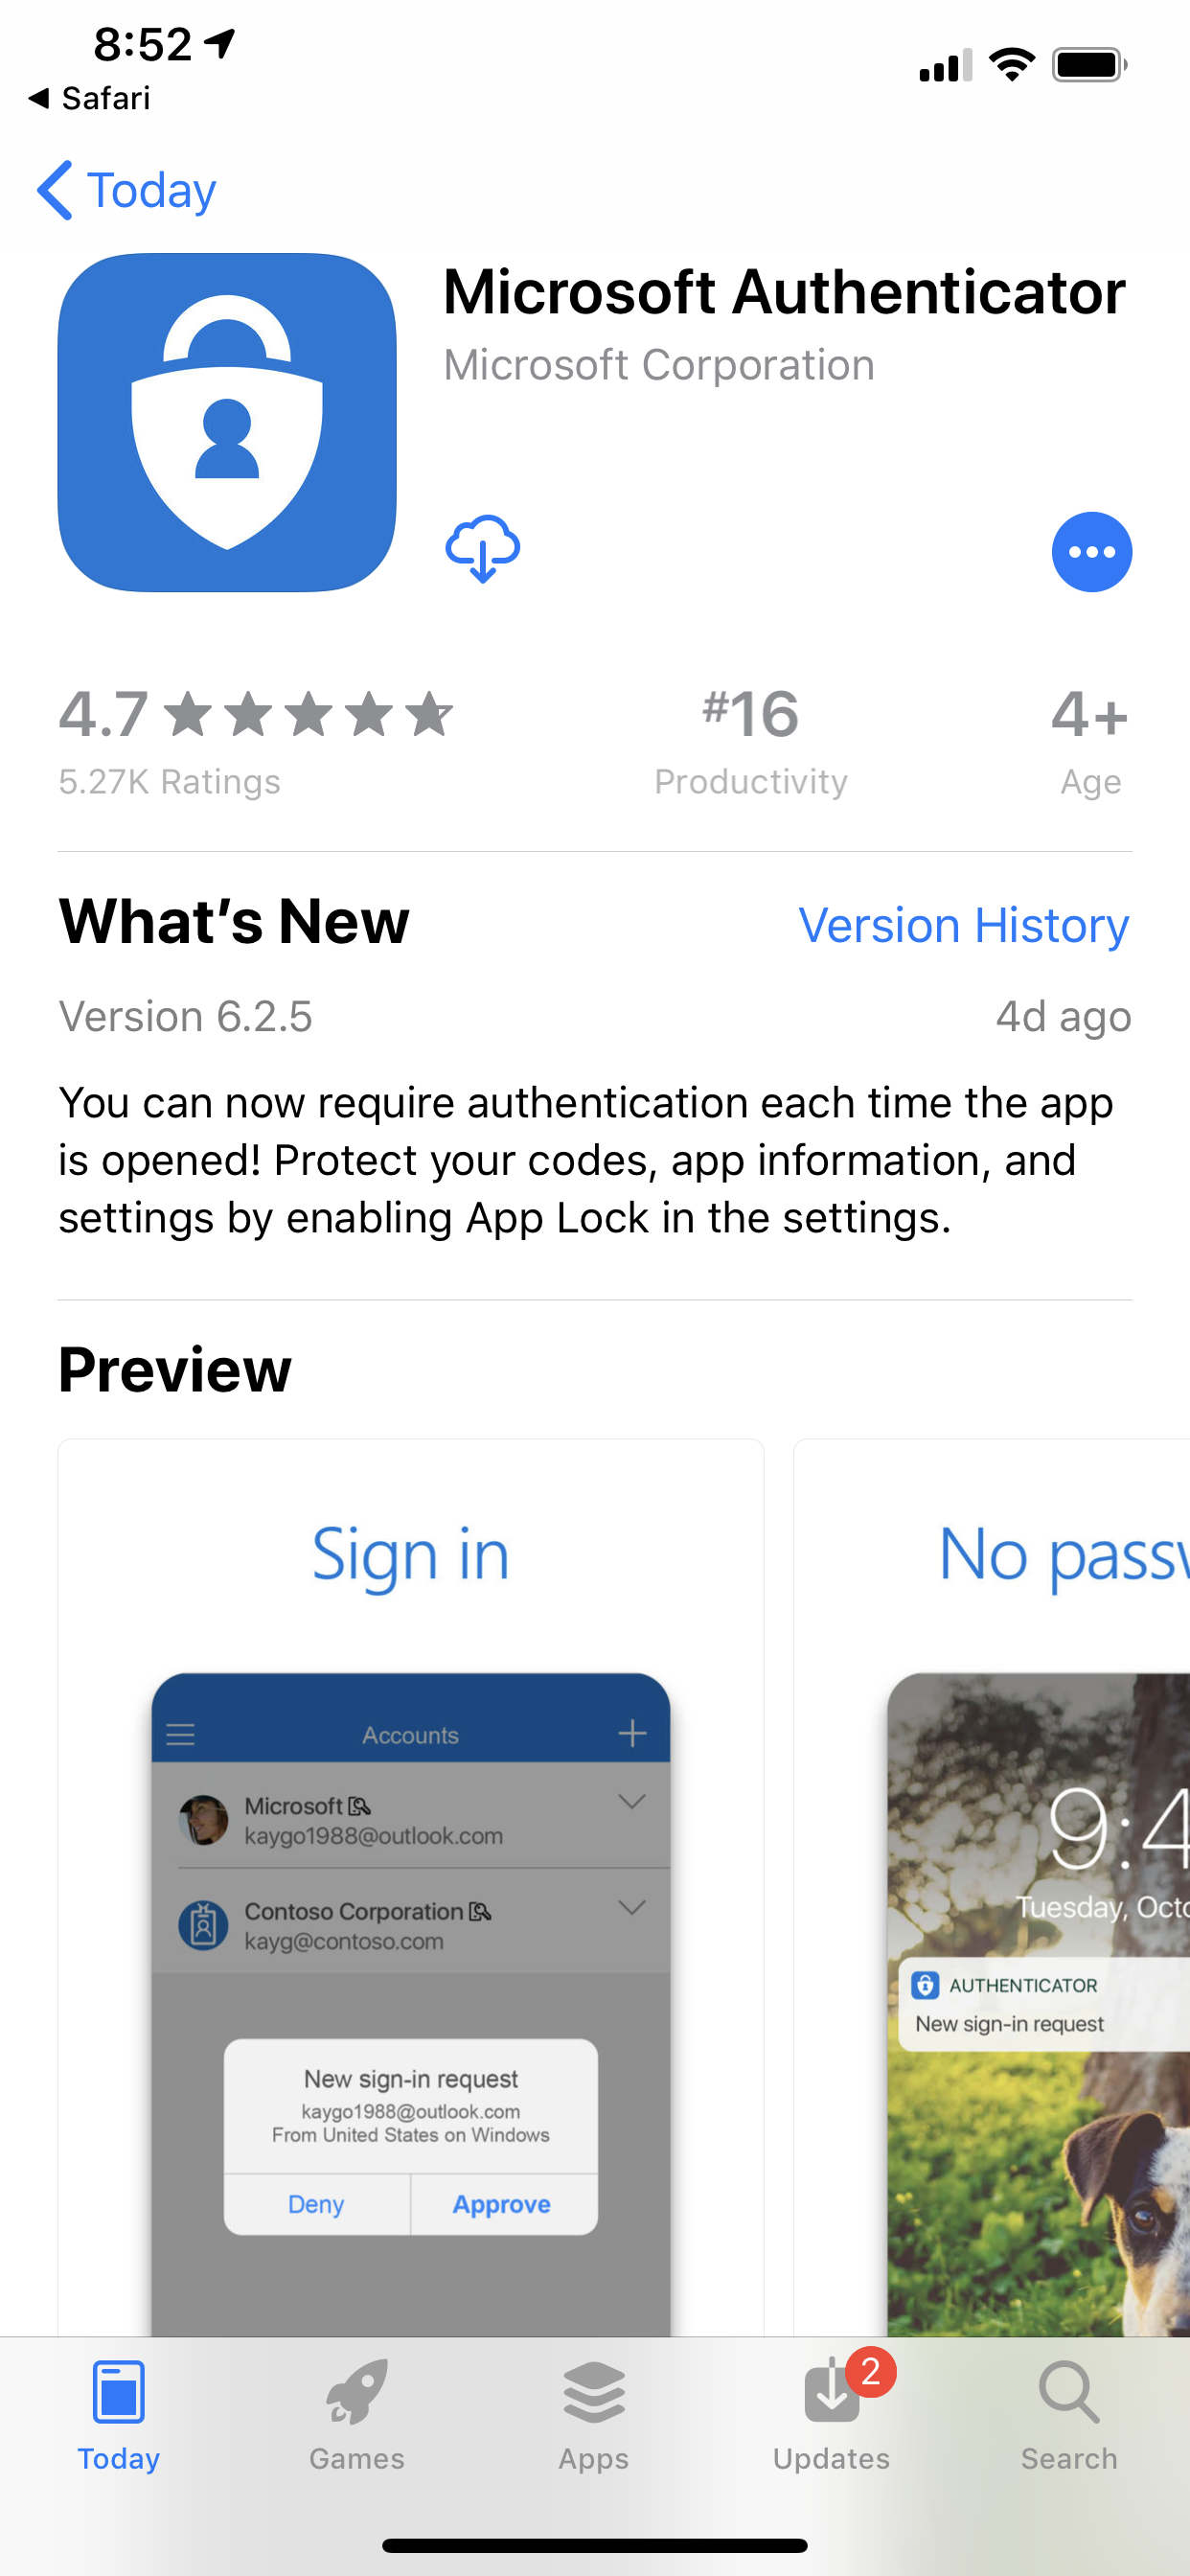
STEP 3
Tap Get and authenticate using password/Touch ID/Face ID. After download completes, tap Open.
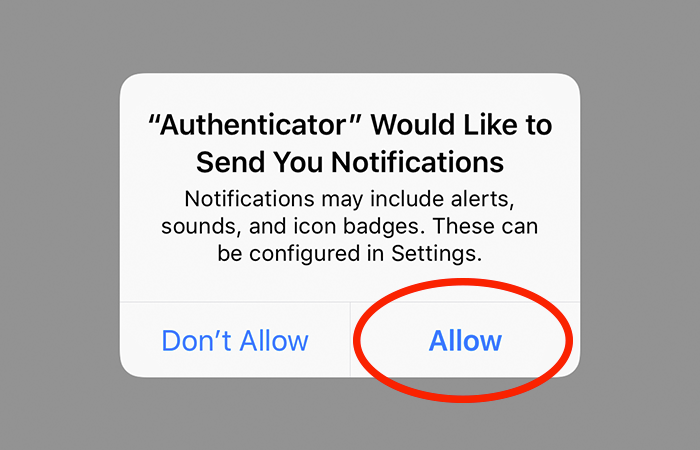
STEP 4
Important: Tap Allow when asked if you’d like to receive notifications from the Authenticator app.
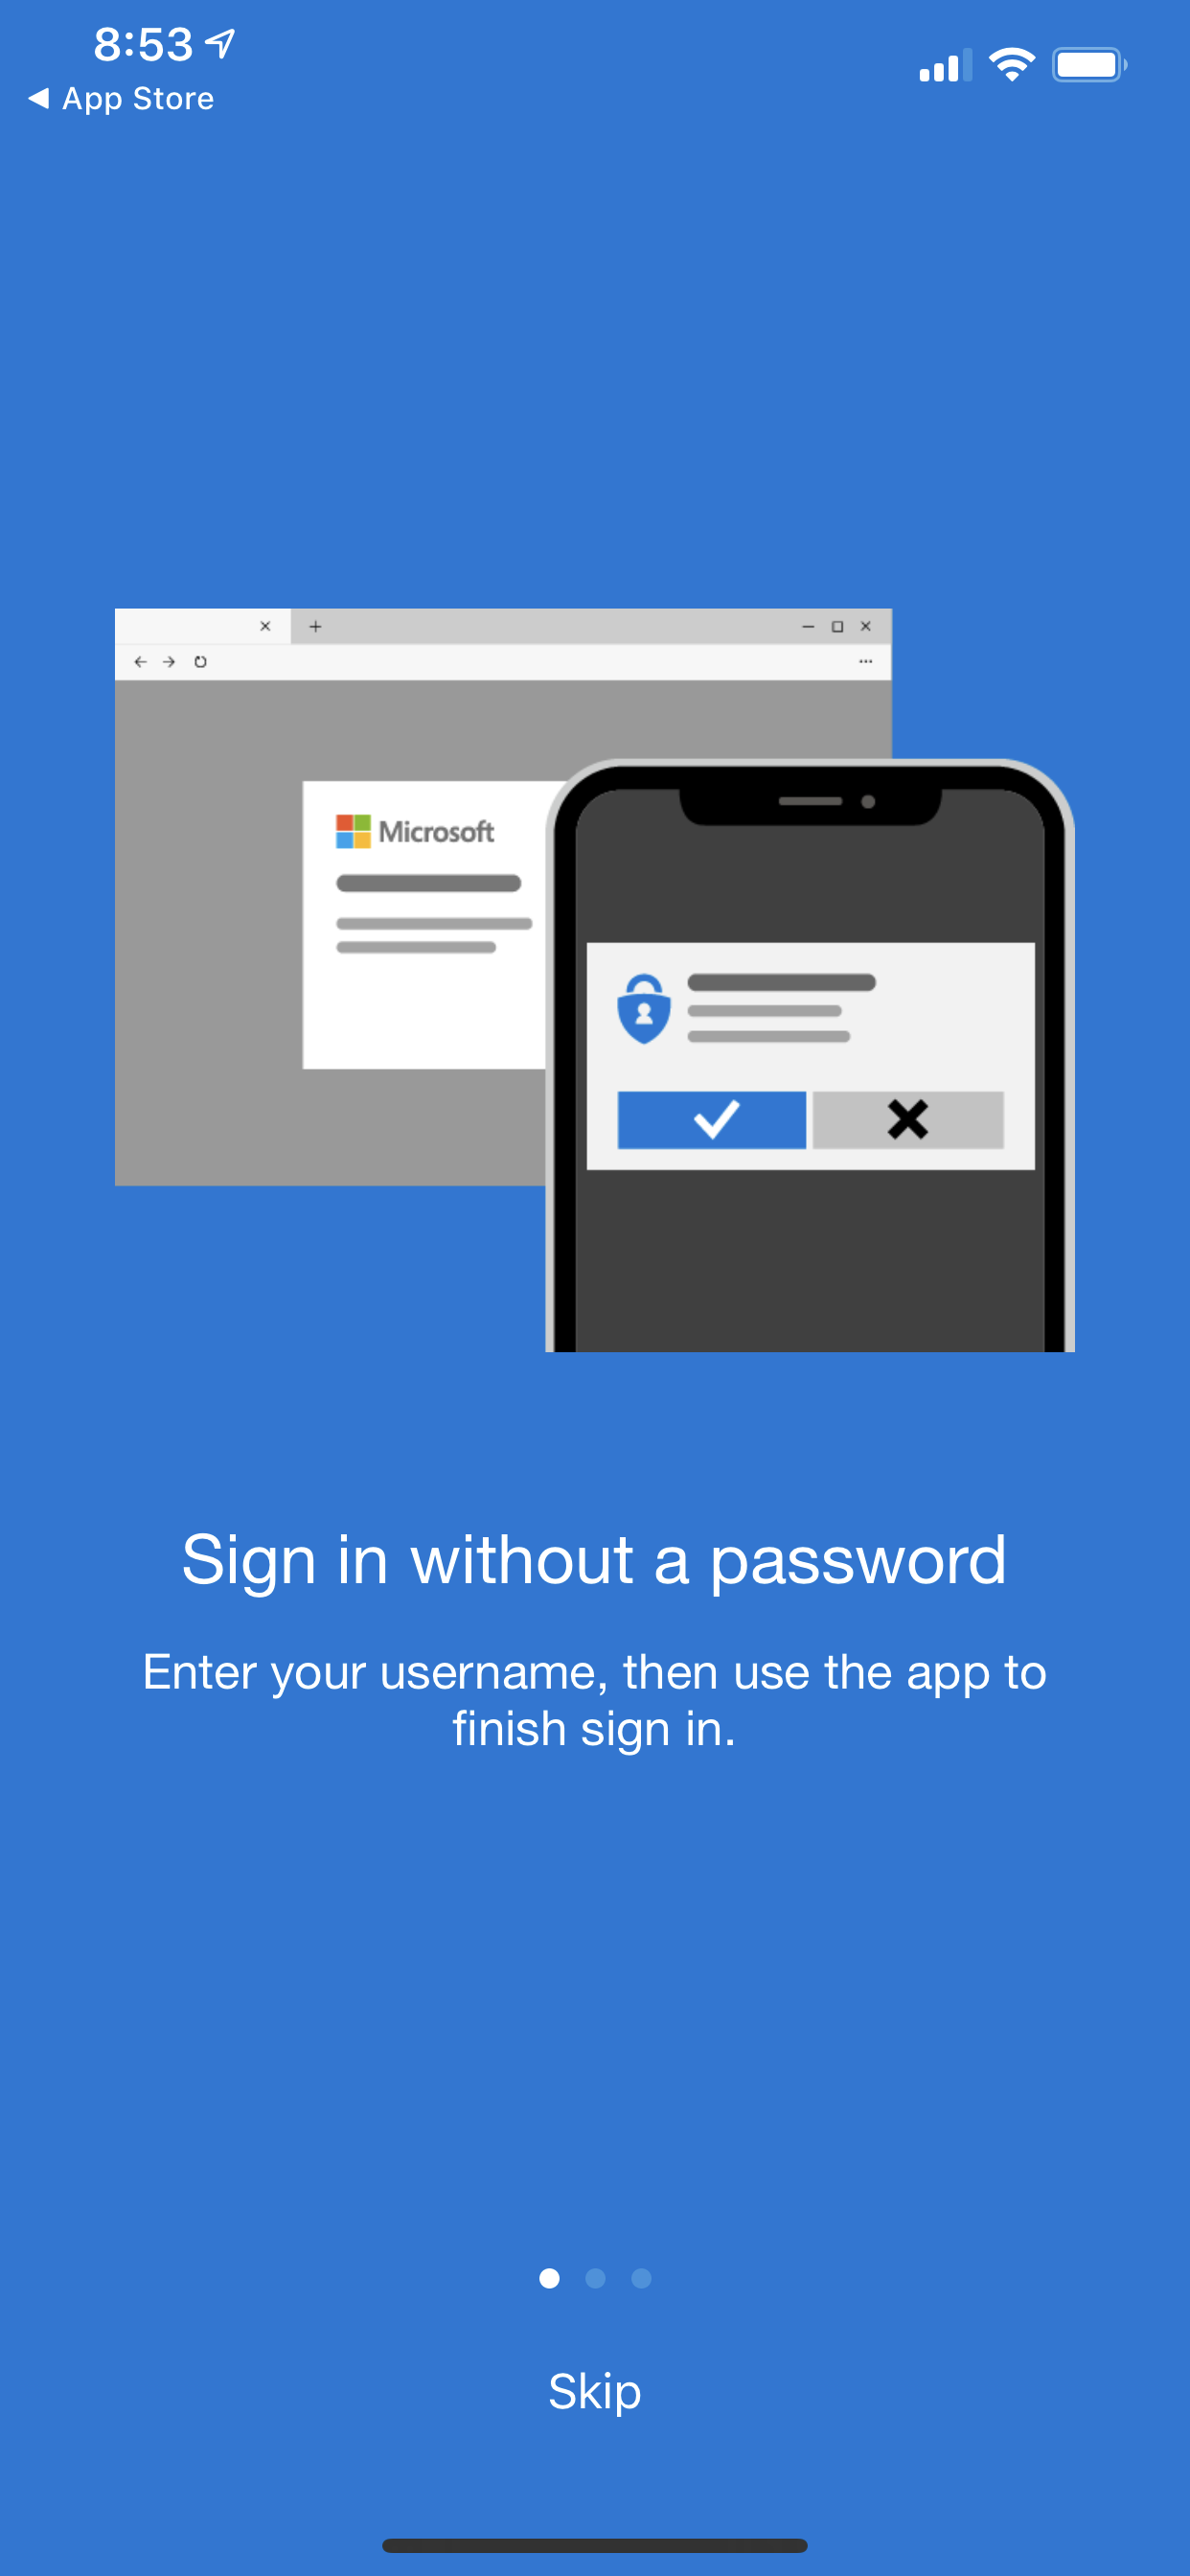
STEP 5
Tap Skip at the bottom of the blue screens. These are simply introduction screens.
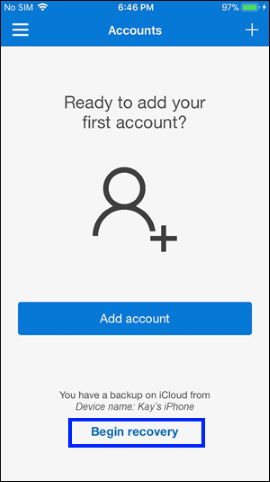
FINAL SCREEN
Stop when you see this screen. Adding your account is completed in the next section.
MFA App Install for Androids
Be sure to complete “Section A” above, which will provide you with the download link mentioned in Step 1 below.
STEP 1
Scan the QR code above using your Android.
Alt: If you’re viewing this on your phone, click here.
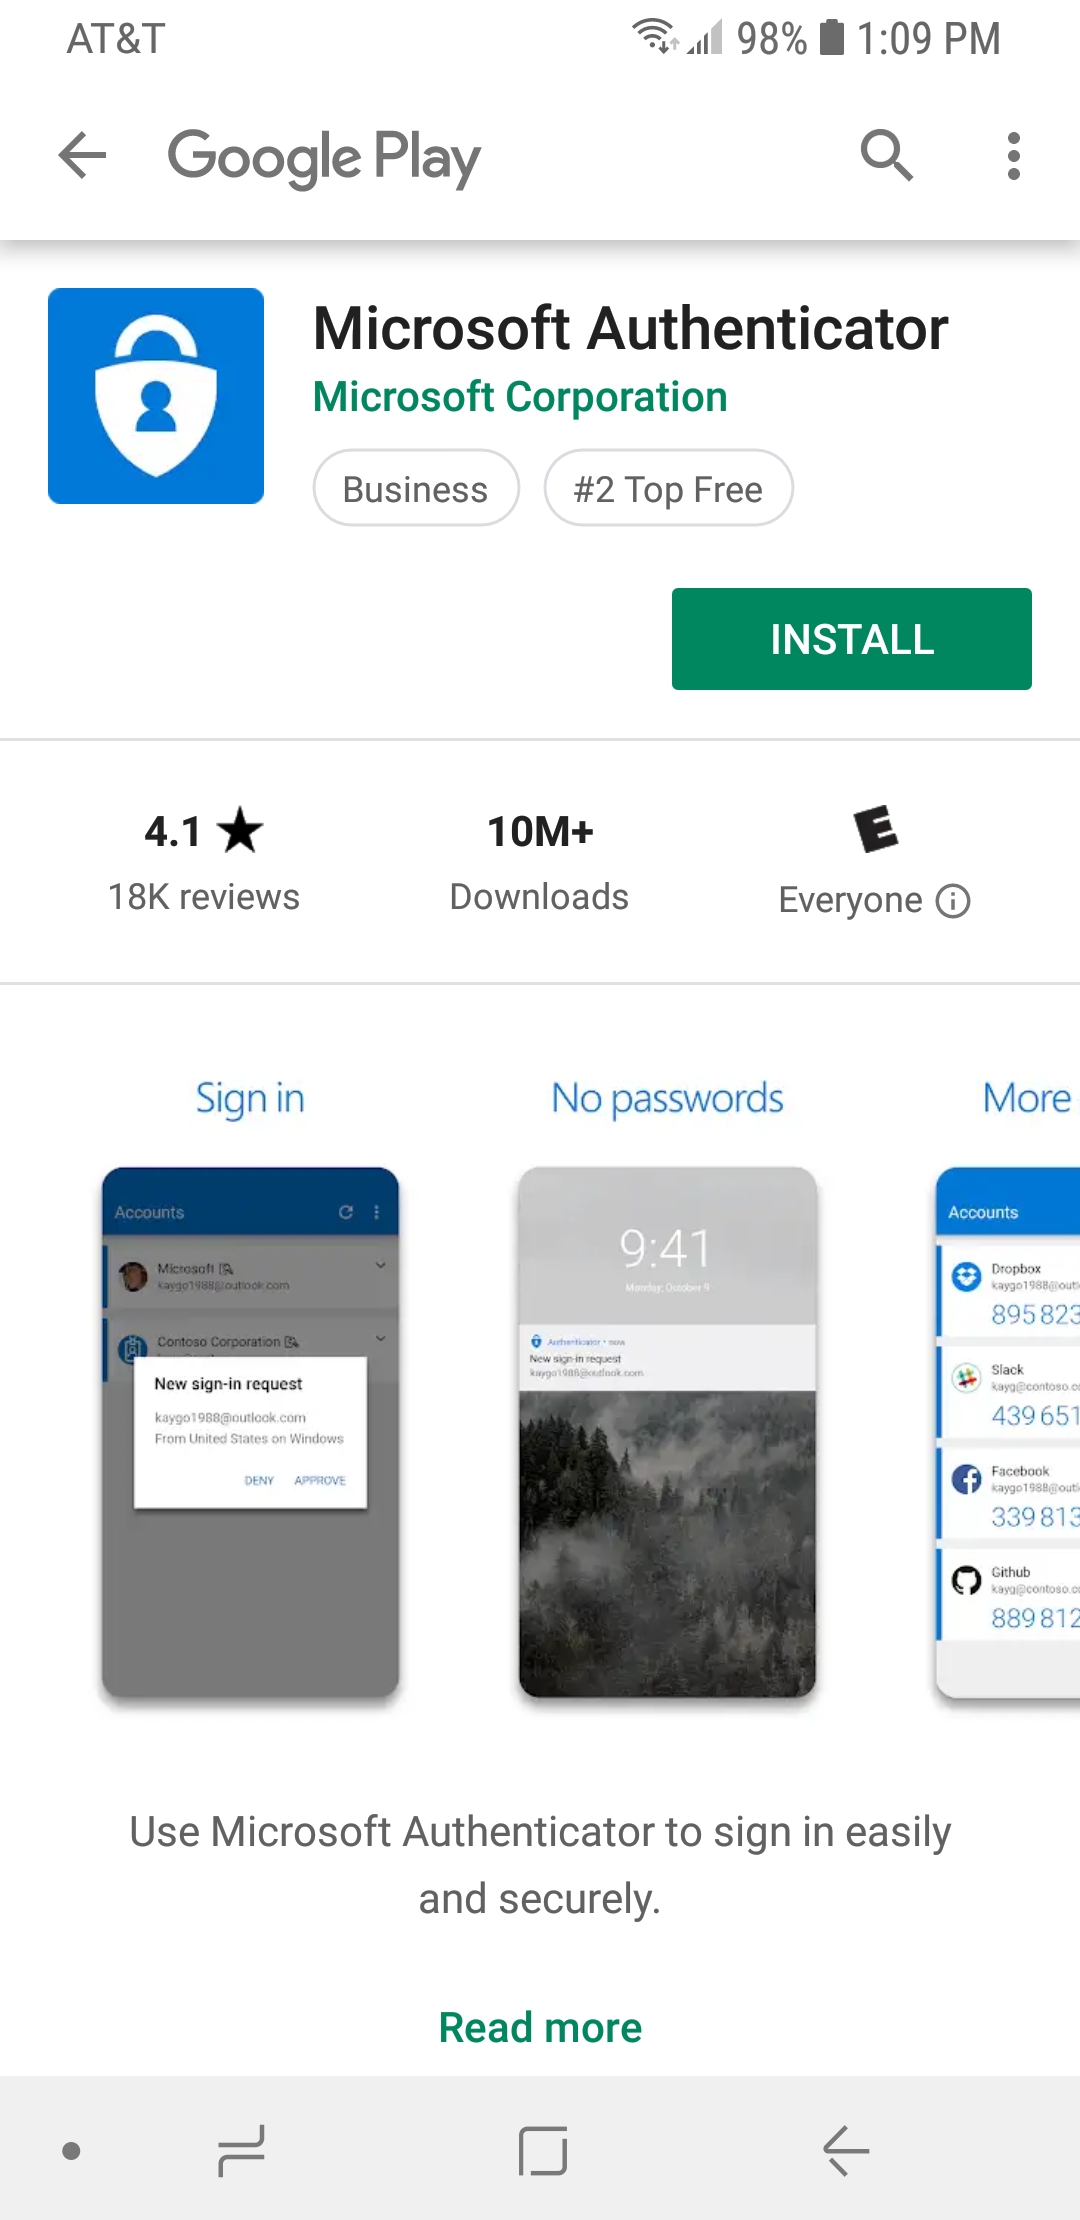
STEP 2
Tap Install and follow any password instructions. After the download completes, tap Open.
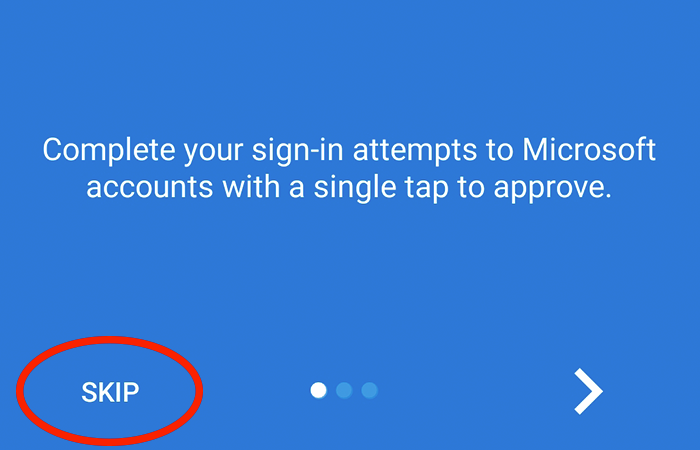
STEP 3
Optionally, you can tap Skip at the bottom of the blue screens. These are introduction screens that promote the app’s features.
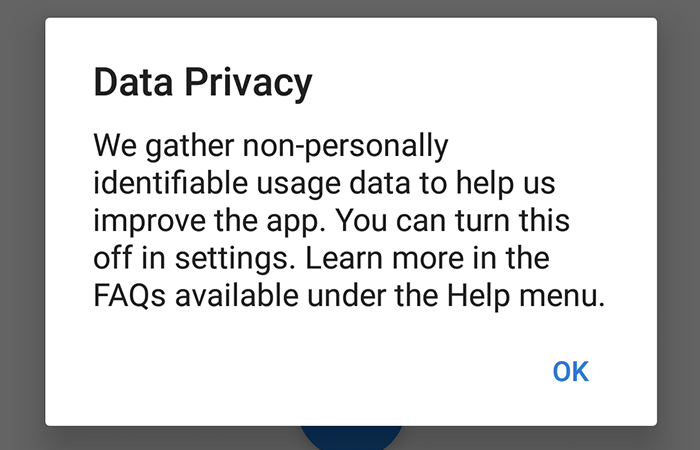
STEP 4
Tap Ok on the Data Privacy prompt. This is notifying you to Microsoft’s experience improvement policy.
FINAL SCREEN
Stop when you see this screen. Adding your account is completed in the next section. At this point, you can simply close the app.
B. Open the Security Setup Portal
The Security Setup Portal is where the actual MFA activation will take place. Here, you will connect the MFA app to your CorVantage account and setup a backup email address, in case you ever need to reset your CorVantage password.
Helpful Tip: Push the button below to automatically open the Security Setup Portal in a new window/tab. This way, you can switch back and forth between the portal and the instructions in this guide.
1. OPEN NEW TAB/WINDOW
Open a new tab or window in this internet browser and go to: aka.ms/setupsecurityinfo
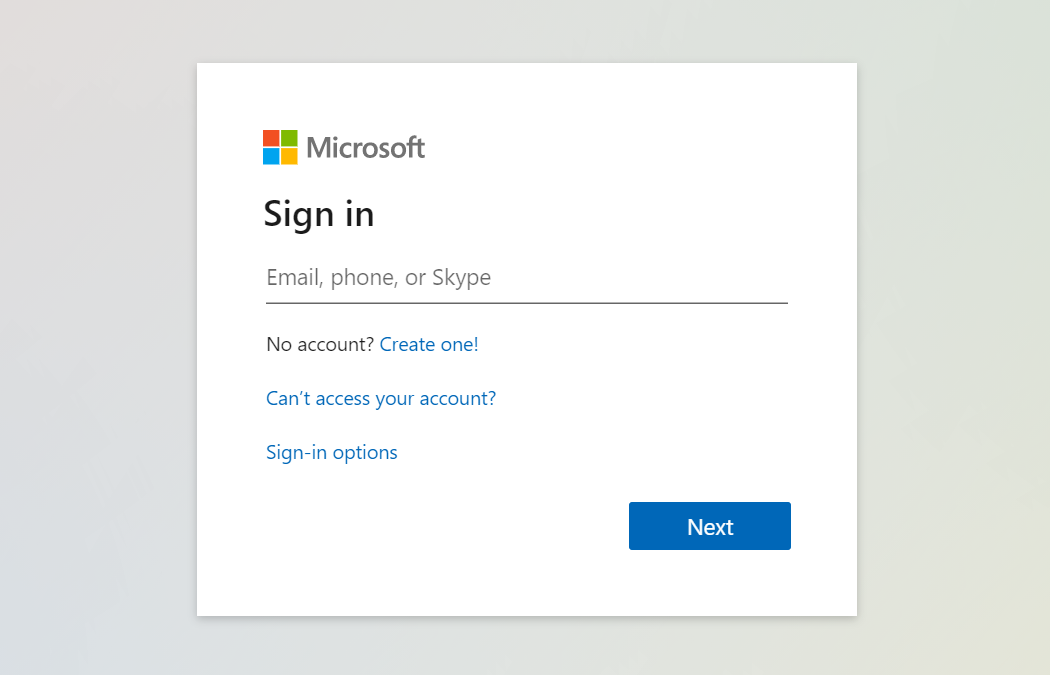
2. SIGN IN WITH CORVANTAGE
Enter your CorVantage email, then click the “Next” button. On the following screen, enter your password and click the “Sign In” button.
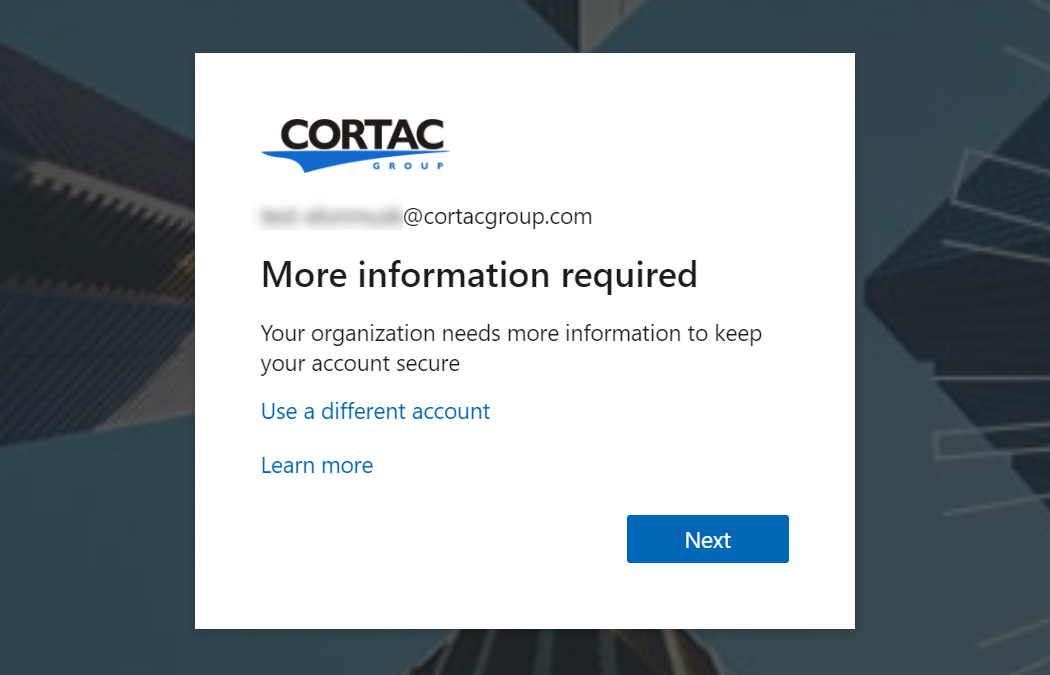
3. CONTINUE TO Security PORTAL
When you see the “More information required” message, click “Next.” Then, continue below to Section D of this guide.
C. Complete MFA and Security Setup
After clicking “Next” in Step 3 of Section C above, you should now be in the Security Setup Portal. These last steps will require you to use both your computer and your smartphone to complete your MFA setup. We color-coded the instructions to help guide you on which steps to complete where.
ORANGE BORDER: Steps completed on your computer, BLUE BORDER: Steps completed on your smartphone
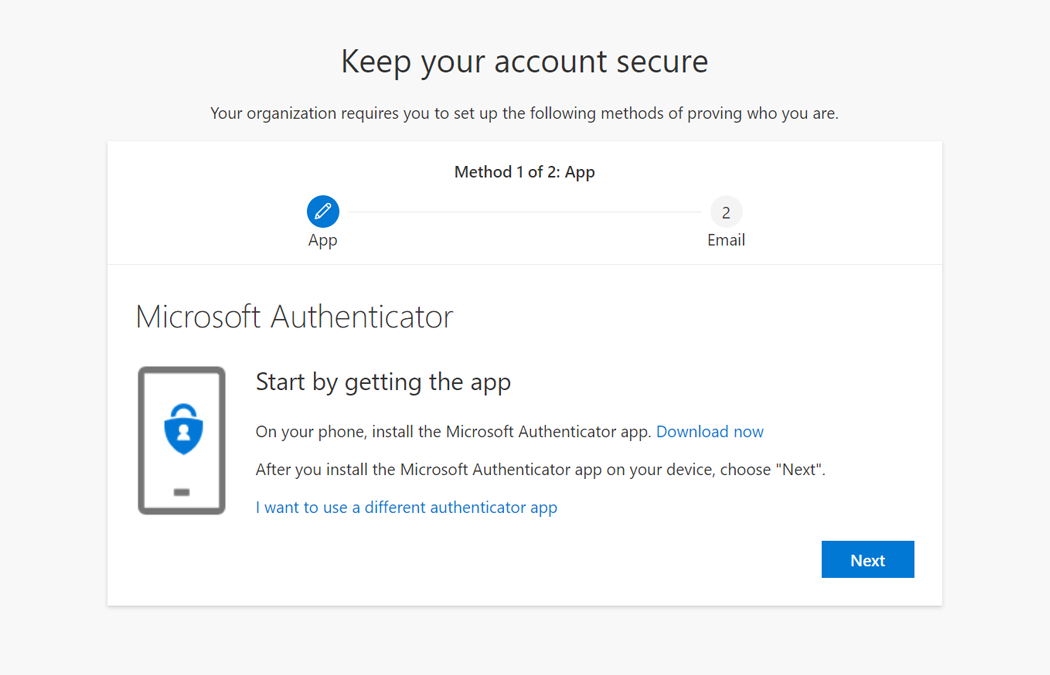
1. NEXT ON FIRST Screen
Click the “Next” button when you see the “Start by getting the app” screen.
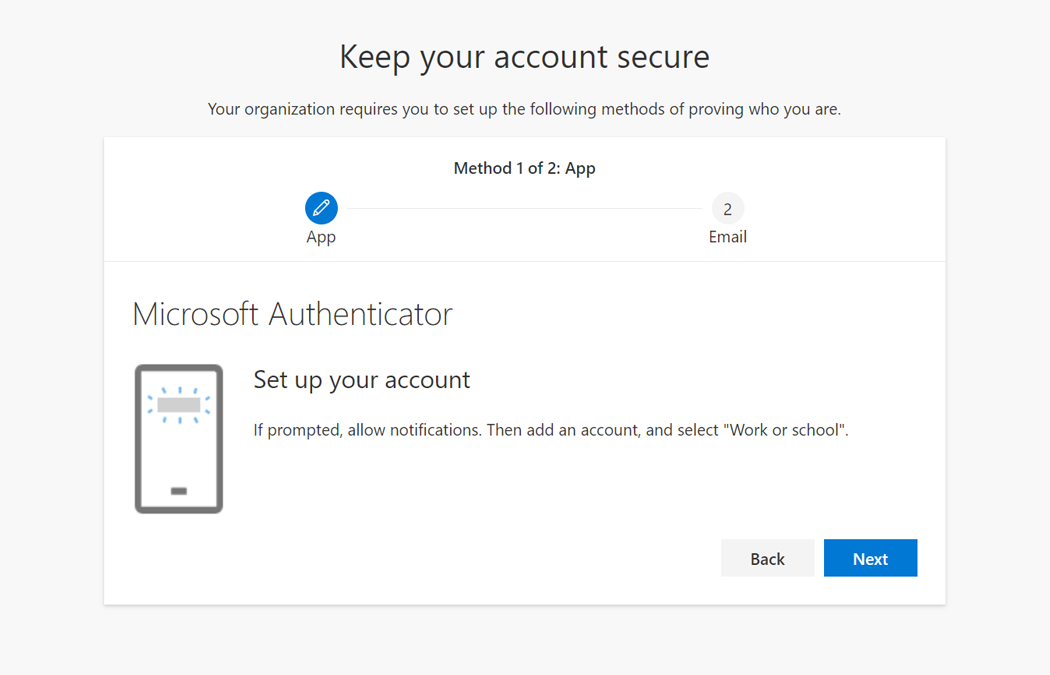
2. NEXT ON SECOND Screen
Click the “Next” button when you see the “Set up your account” screen.
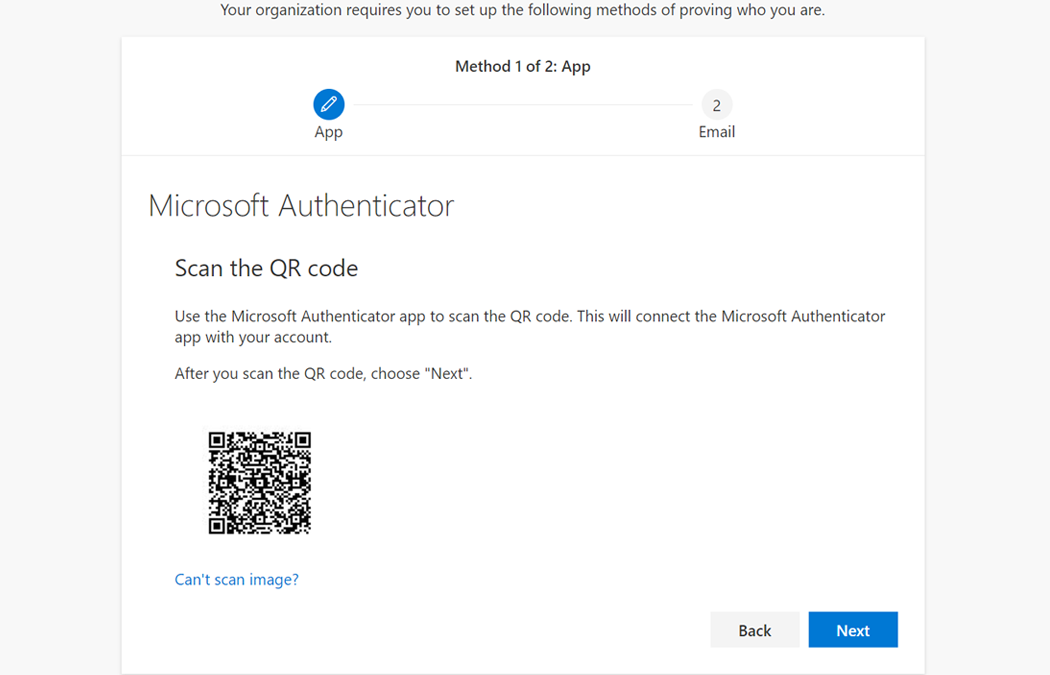
3. SEE THE QR CODE
Stop when you see the “Scan the QR code” screen. Grab your smartphone and go to Step 4.
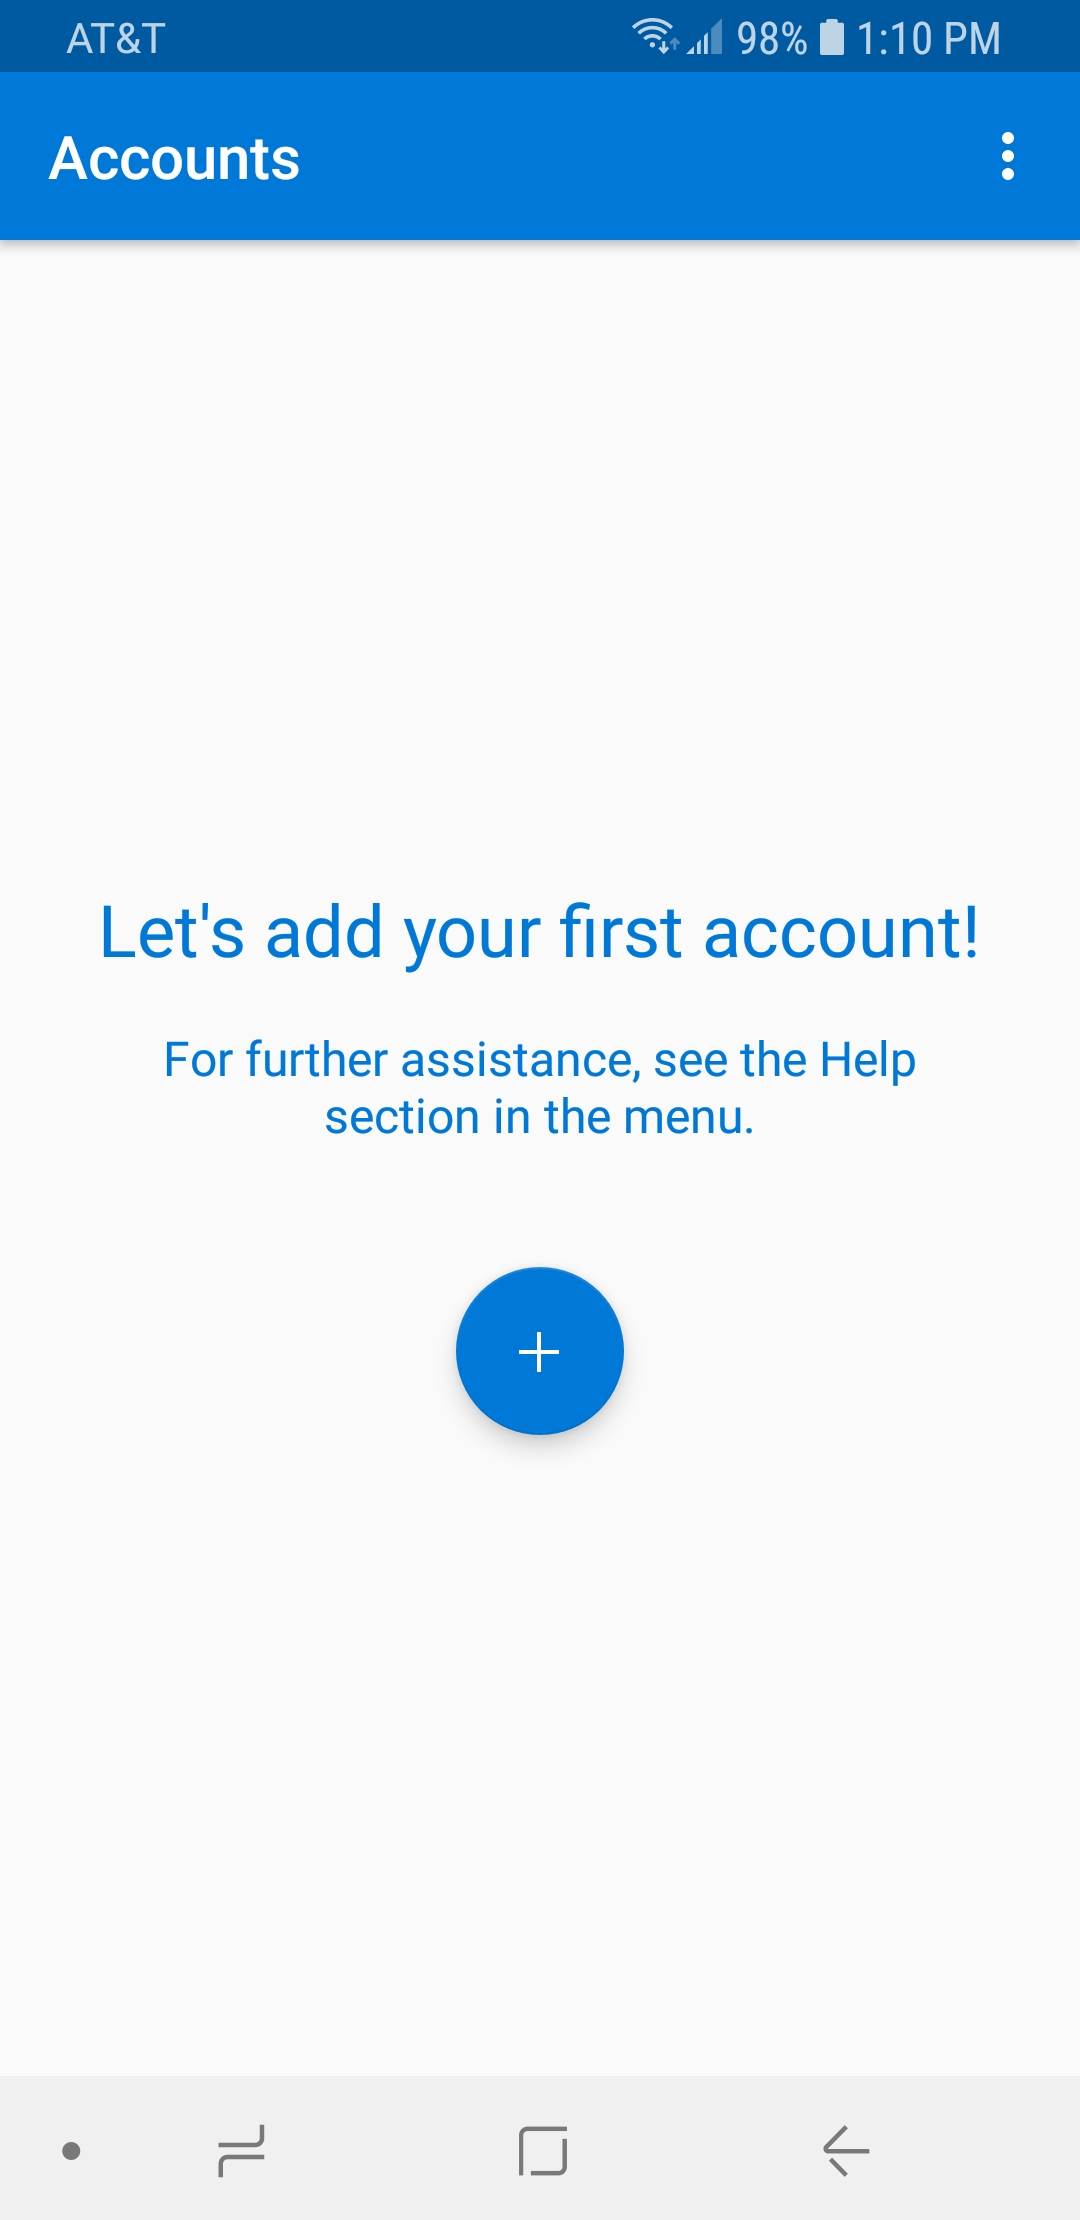
4. OPEN THE APP
If it’s not already, open the “Microsoft Authenticator” app from Section B.
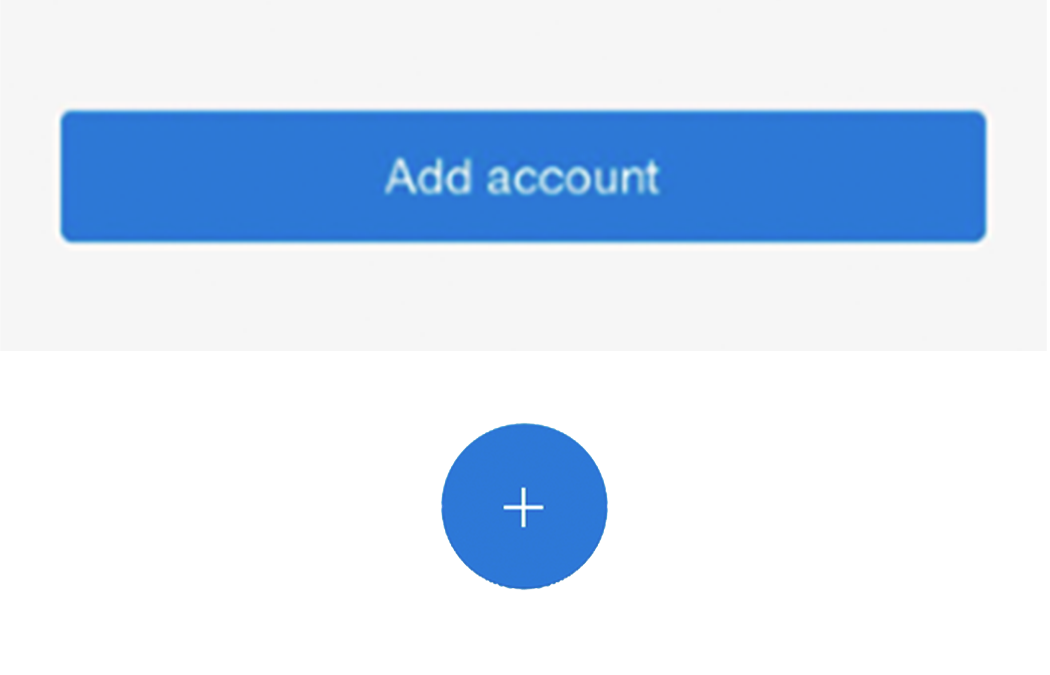
5. ADD ACCOUNT
On the app, tap either the “Add account” or the “circle +” button (based on your smartphone).
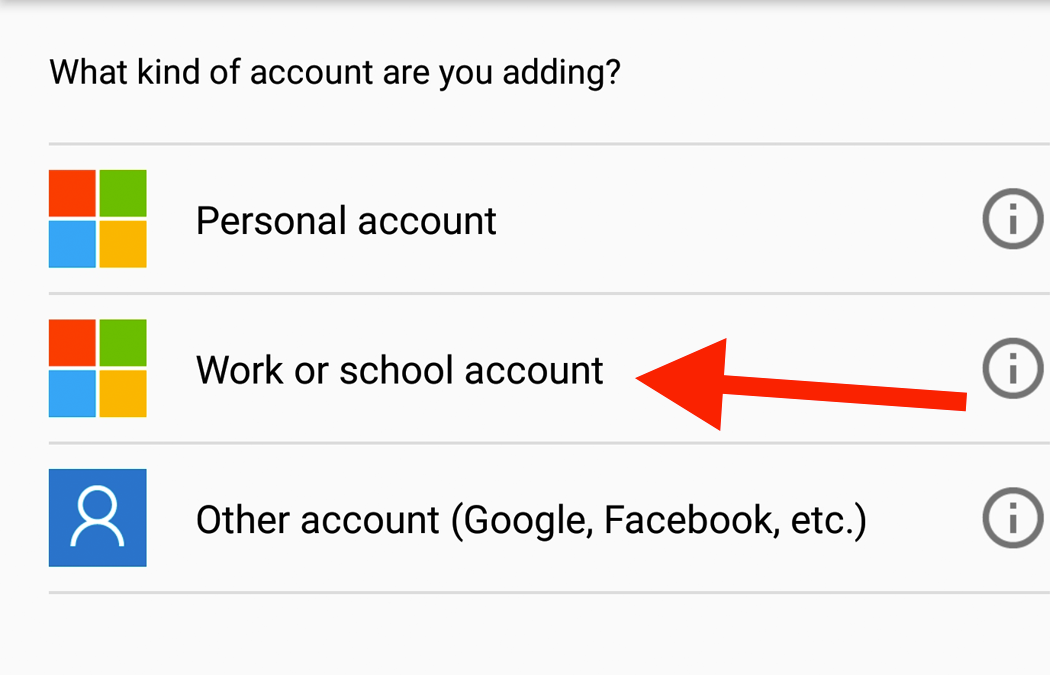
6. Select WORK ACCOUNT
When prompted for what type of account you are adding, select “Work or school account” on the list.
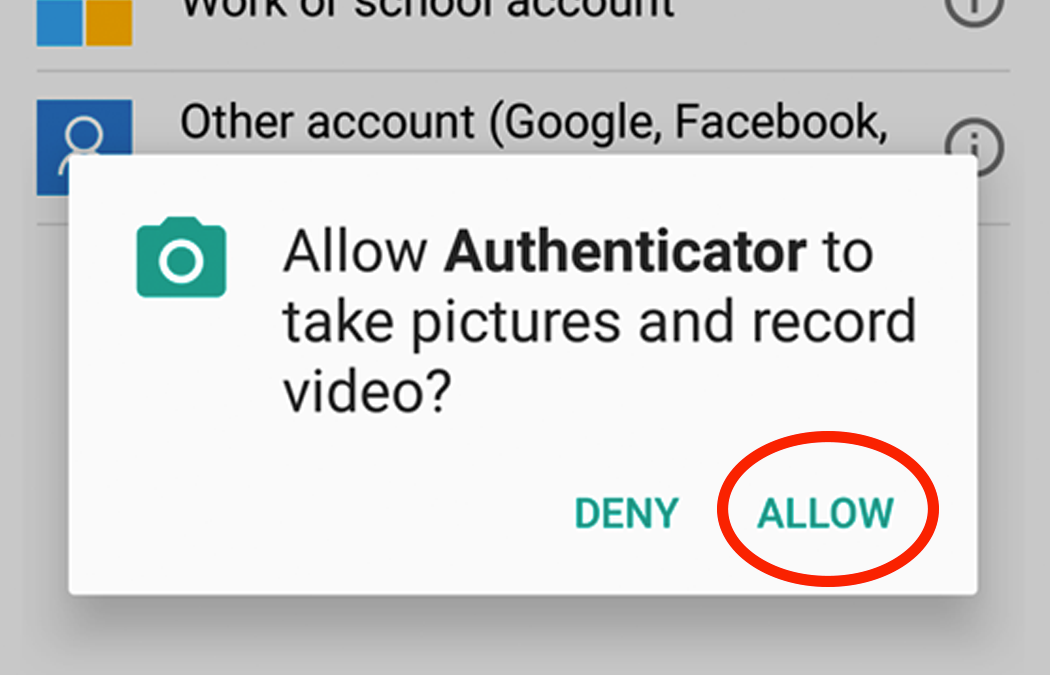
7. ALLOW CAMERA
Important: Tap Allow when asked if you’d like to give camera access to “Microsoft Authenticator.”
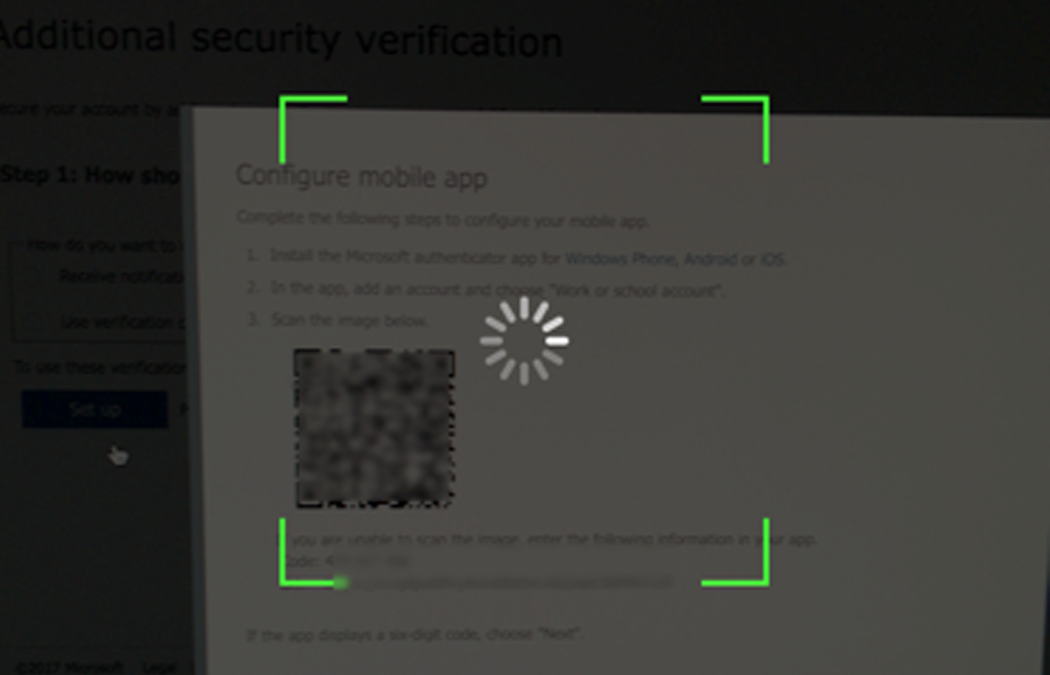
8. VIEW QR CODE
Move your smartphone so that the camera sees the QR code on your PC. Tip: Be at least 18 inches-2 ft away from screen.
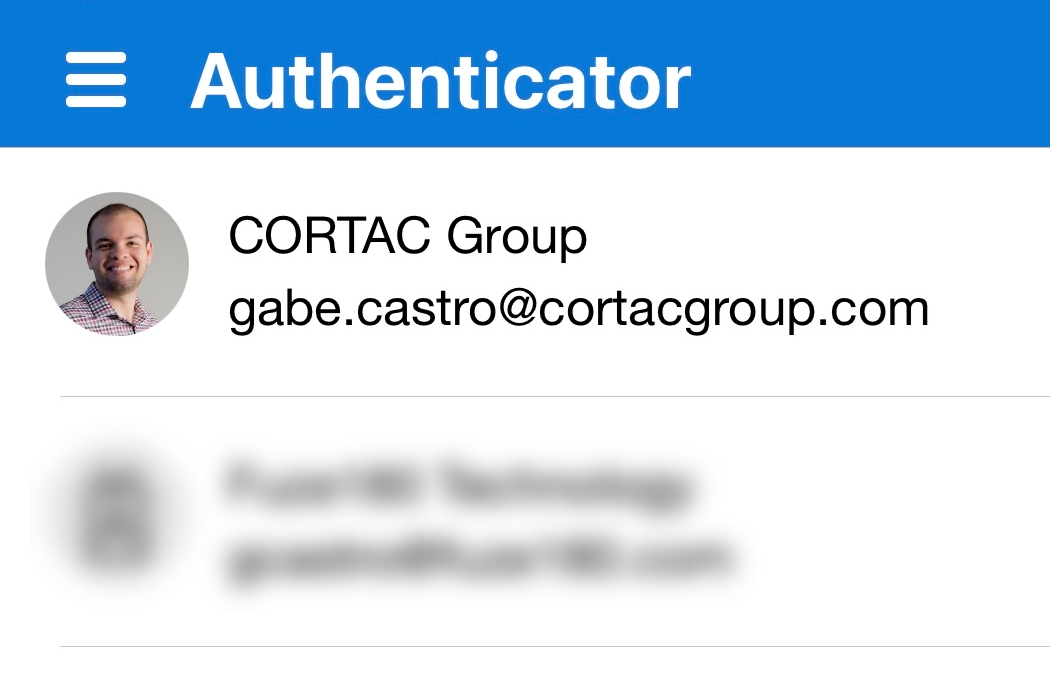
9. SEE ACCOUNT ADDED
The MFA app will automatically redirect to the main account list. If you see for your CorVantage, continue to Step 10.
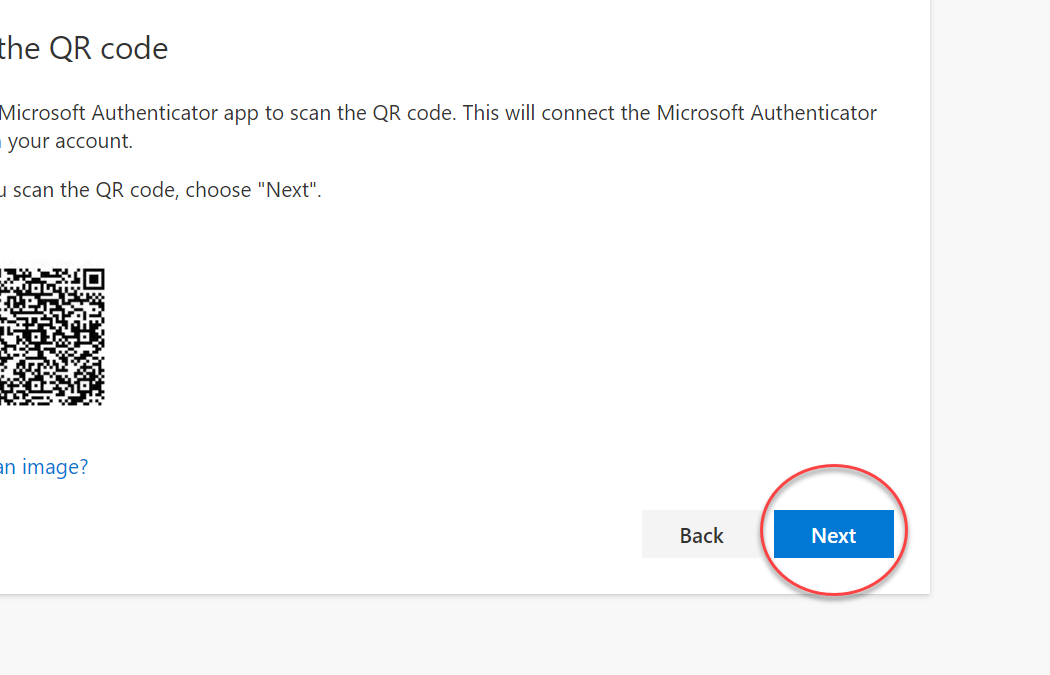
10. NEXT ON QR SCREEN
Back on your computer, on the QR code screen, click the “Next” button.
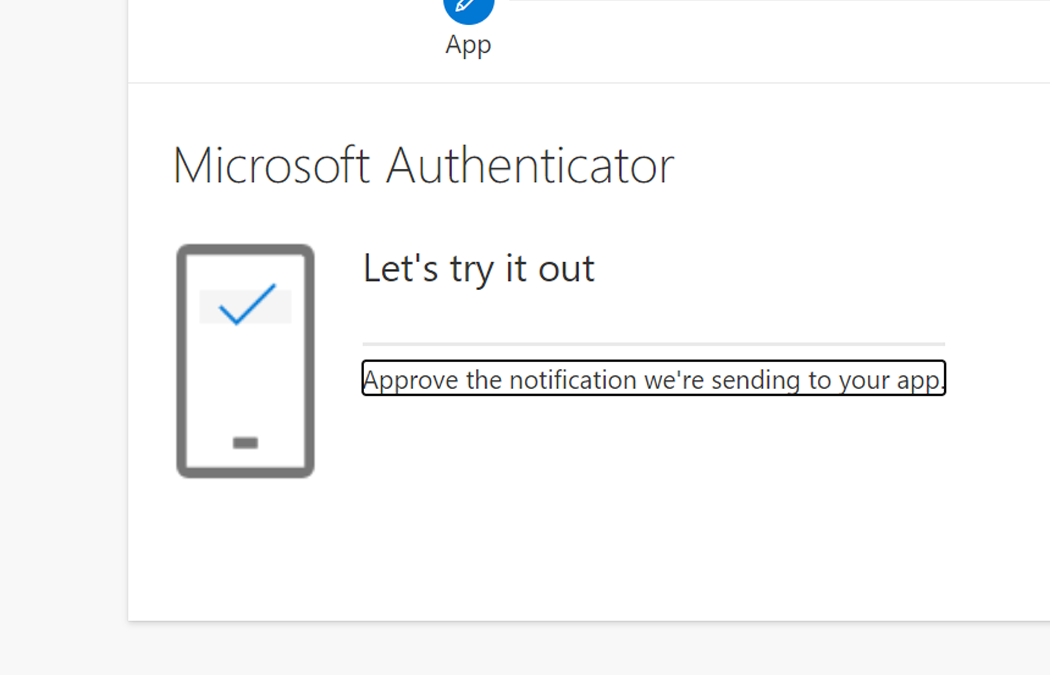
11. TEST APP CONNECTION
On the “Let’s try it out” screen, Microsoft will test your MFA app connection. Continue to next step.
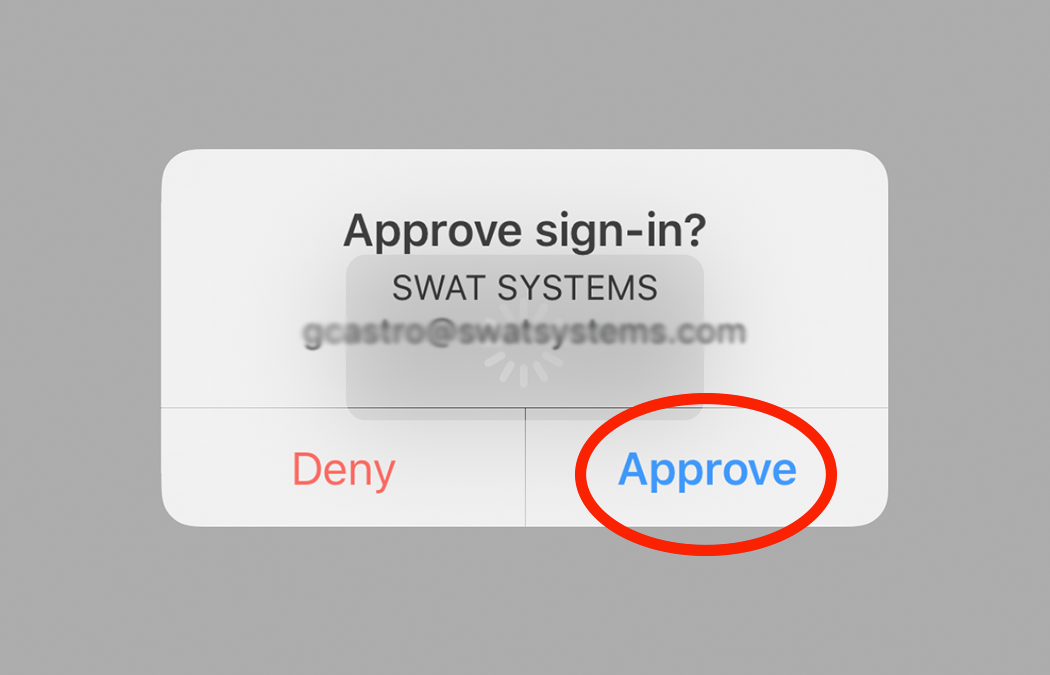
12. Confirm App Test
On your smartphone, look for a Sign-In notification. Tap “Approve” or “Allow.”
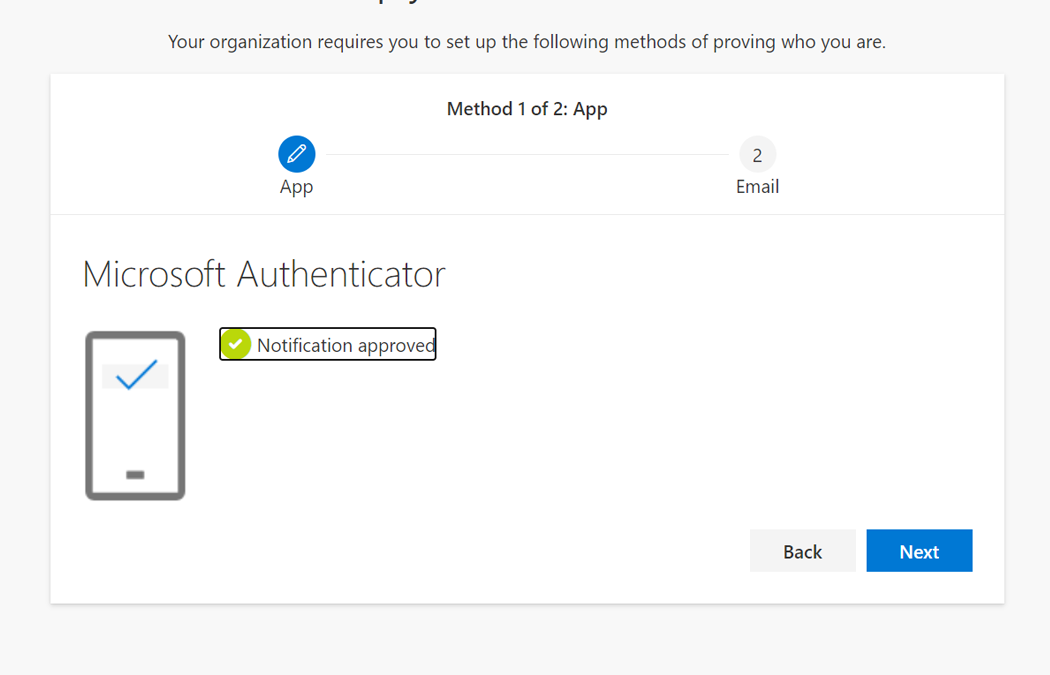
13. NEXT ON APPROVED SCREEN
On your computer, the portal screen will confirm that the notification test was approved. Then, click the “Next” button.
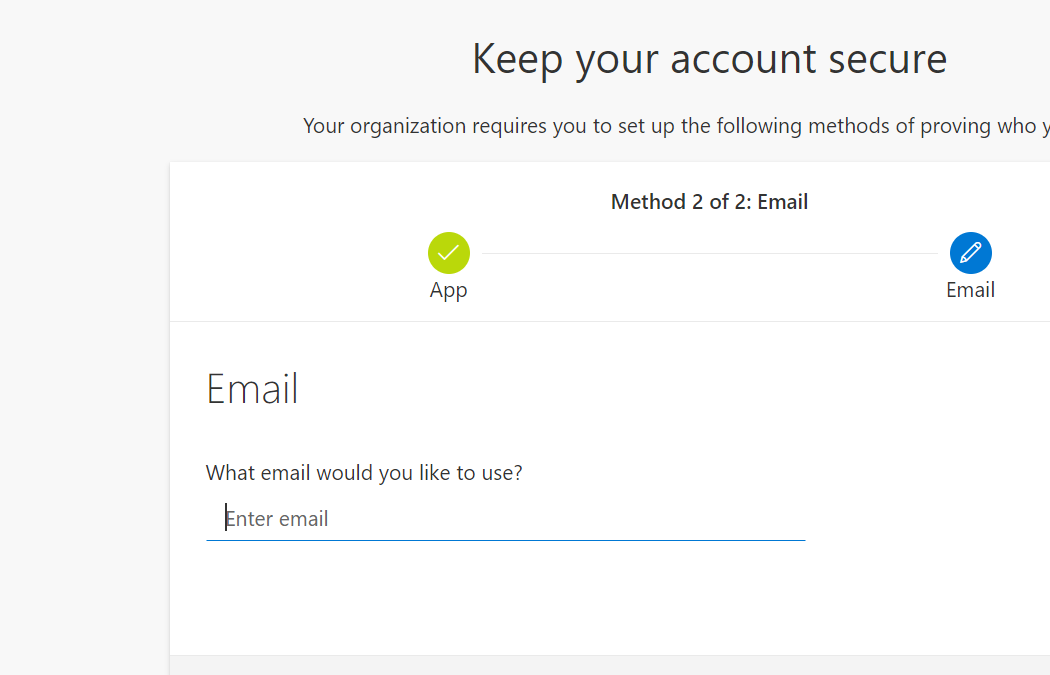
14. Choose a BACKUP EMAIL
With the MFA app configured, a backup email address is next (for password resets). Enter a non-work/personal email address, then click “Next.”
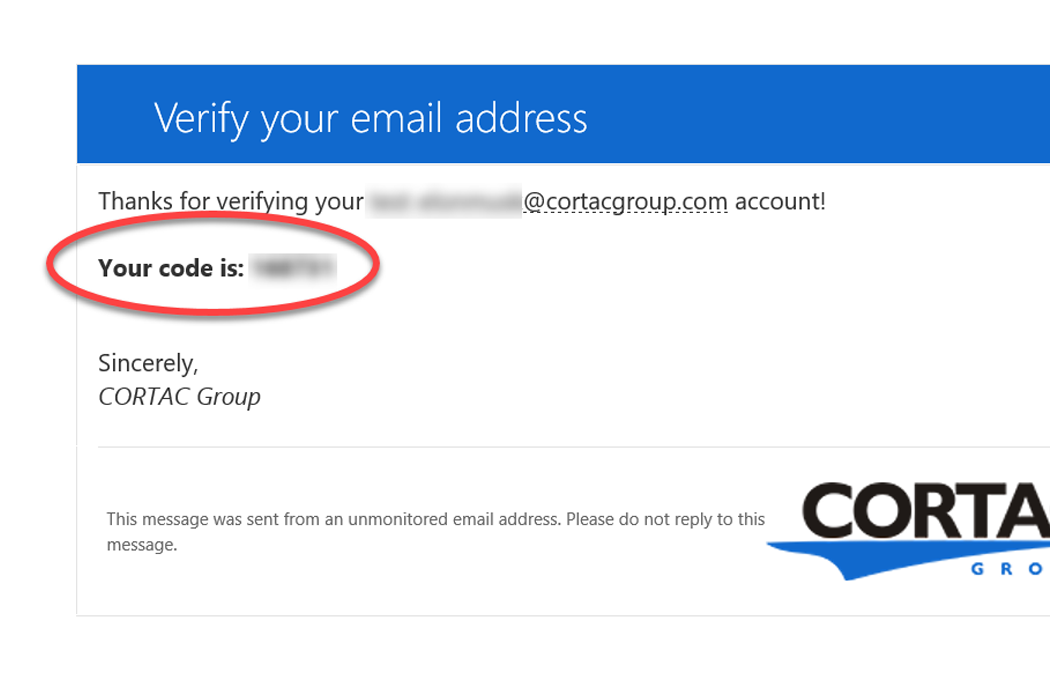
15. RETRIEVE TEST CODE
Retrieve a verification code that was sent to the email address you entered in Step 14. Copy that code for the next step.
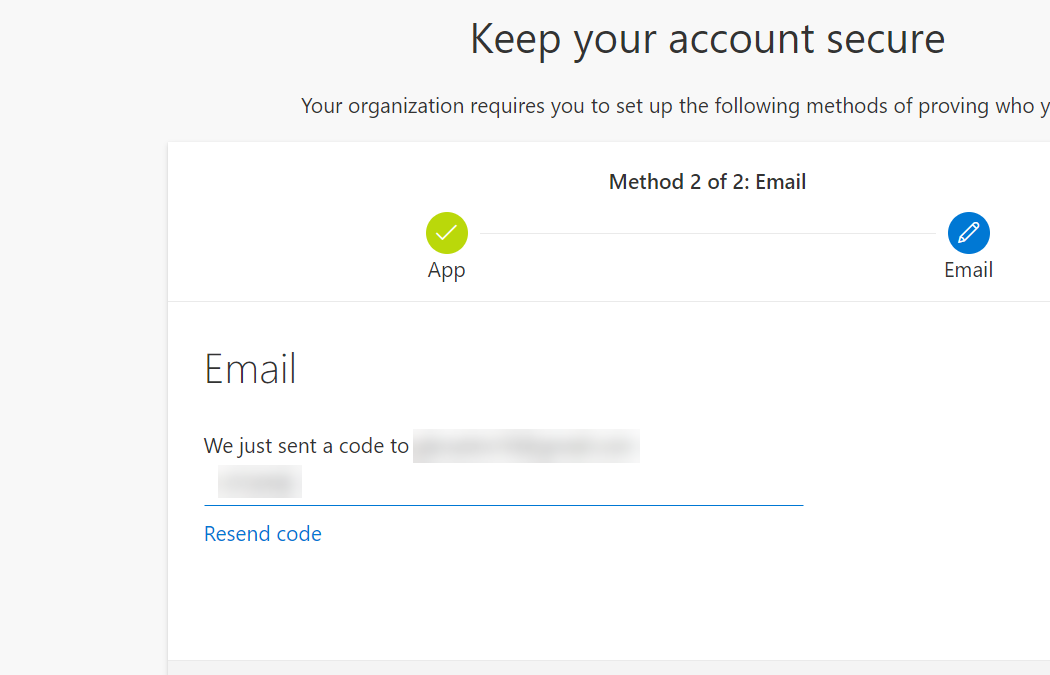
16. CONFIRM VERIFICATION CODE
Paste or enter the verification code you retrieved from your non-work/personal email address. Then, click the “Next” button.
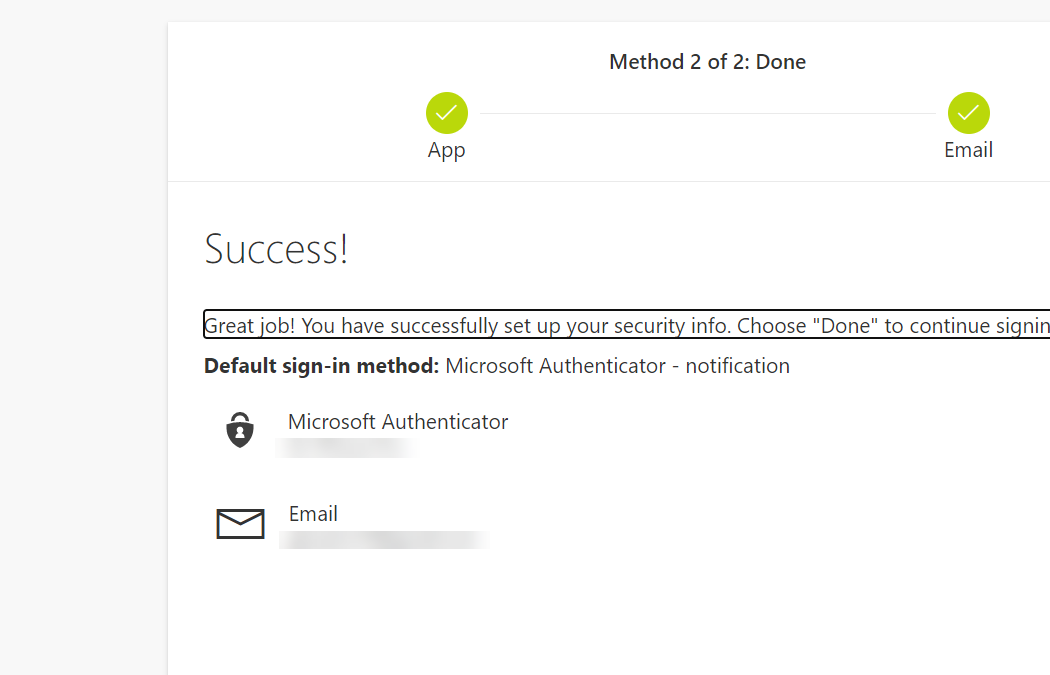
17. ALL DONE!
With the MFA app configured, a backup email address is next (for password resets). Enter a non-work/personal email address, then click “Next.”